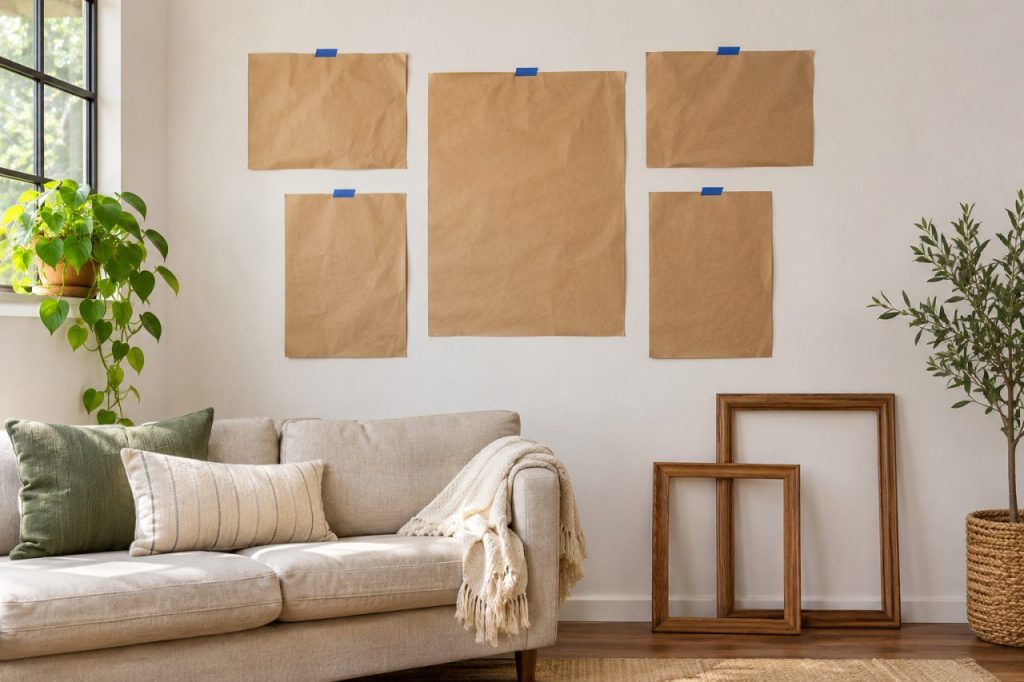
A gallery wall is easier to plan when the shapes are full size. Paper templates let you judge spacing and balance without repeatedly moving real frames. Start with the artwork you want to display, then choose a hanging method suited to each frame and the actual wall. This guide plans the arrangement; it does not assume one fixing works on every surface.
Measure the whole frame
Trace the outer dimensions of each frame onto paper and label the template with its picture. Mark its top edge and the position of any existing hanger. Record the frame’s weight separately. The outside dimensions, rather than the picture size printed on a label, determine how neighbouring frames will sit together.
Arrange on the floor first
Try a simple grid, a line of equal top edges or a looser group centred around one larger piece. Choose one repeated relationship, such as a similar gap between neighbouring frames, to make the group feel intentional. Step back and photograph the options. Do not worry about matching every frame if the pictures and spacing already give the collection coherence.
Transfer the paper arrangement
Use a temporary method suitable for the wall’s finish to position the paper templates, testing it discreetly first. Check the group from the doorway and from where people normally sit. Account for furniture, switches and opening doors. Leave the templates in place long enough to notice awkward spacing, then revise the paper rather than drilling experimental holes.
Choose fixings for the real conditions
Follow the frame and fixing manufacturer’s instructions, including surface suitability, weight limits and installation requirements. Adhesive strips are not universal: Command’s picture-strip guidance includes restrictions on wallpaper, placement over beds and valuable or irreplaceable items. If drilling is necessary, establish the wall construction and hidden-service risks and use appropriate help when uncertain. A template does not make an unsafe fixing safe.
Hang and recheck
Work from the main reference frame outwards, using the actual hanger position rather than assuming it is centred. Follow all waiting and loading instructions for the chosen system. Remove templates and check that each frame is secure and level. Keep a photograph and the measurements with spare fixings. If a frame sits differently from its template, check its hardware offset before changing the entire layout. The planning work is successful when the final hanging process is predictable.
Further reading
Command: picture-hanging strip restrictions and application instructions