If you are working out how to start a DIY home improvement project, begin with a specific aim and a decision about what is within your skills. This guide offers a planning worksheet: define the result, find instructions for the actual task, list unanswered questions, and decide whether to proceed yourself or get help. It does not assume that a project is suitable for beginners simply because an online list calls it easy.
Pick a Project With a Clear Finish Line
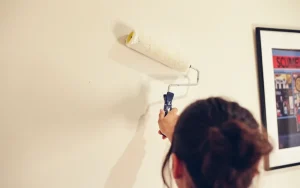
Choosing a project with a defined endpoint helps you avoid feeling stuck or overwhelmed by a task that never seems to end. Projects like painting a single room or installing a set of floating shelves have a beginning, middle, and end that are easy to visualize. This clarity makes it easier to stay motivated and track progress, as you can see the project moving toward completion in a measurable way. According to A House in the Hills, starting with small, contained tasks like these can build confidence and help you develop skills without the pressure of a long-term commitment.
Describe what completion would look like for your chosen job. For a painting project, that could include the selected surface, the finish you want, and clearing the workspace afterwards. Treat this as a proposed scope. You can revise it after reading the product instructions or obtaining advice about the condition of the surface. A clear description is useful for planning, but does not remove the possibility of unexpected work.
- Painting a room: This task involves measurable steps like selecting paint, preparing the walls, and applying coats—each of which has a clear endpoint.
- Installing shelves: This project has a defined start (measuring and cutting materials) and a clear finish (mounting the shelves and arranging items on them).
- Considering replacement handles: identify the existing fitting and check the replacement’s instructions and compatibility before deciding what work is involved.
Use these as ideas to assess, not a list of jobs that everyone should attempt. For each candidate, ask whether you can explain the process, identify what could go wrong and obtain the tools or help required. If the answer is unclear, resolving that question can be the first part of your project.
Learn the Skill Before You Start
List the skills the selected instructions require. Which have you used before, and which would be new? A House in the Hills’ beginner guide includes checking the skills required and planning before starting. Keep that advice tied to the actual job rather than assuming that one set of techniques applies to all DIY work.
For a skill you have not used, decide how you will learn it before using it on your home. You might seek a suitable class, demonstration or professional explanation. Any practice should follow the equipment and material instructions, including their protective measures; this planning guide is not a substitute for those instructions.
For example, Dulux’s painting preparation guide discusses the relationship between brush type and paint. That is a specific detail to investigate for a painting project. It does not establish that you already know how to use a different tool or work on a different material.
Set a Realistic Budget and Timeline
Estimating costs and planning your time effectively are essential to avoiding frustration and unnecessary expenses. Start by breaking the project into smaller, manageable steps. For each step, list the materials needed and compare prices from multiple sources to find the best value. This methodical approach helps ensure you don’t miss any hidden costs, such as tools or unexpected repairs.
- Build a budget from current prices and quotations for your own project. Separate materials, tools, delivery, waste handling and any professional help. Mark estimates clearly and keep optional additions separate.
- Allow more time than you initially think you’ll need. Projects often take longer due to unexpected delays or learning curves. According to A House in the Hills, good planning reduces mistakes and makes the process smoother.
- Consider the skill level required for each task. If you need to learn a new skill, factor in the time it will take to practice and master it before starting the project.
- Use a checklist to track progress and stay on schedule. This helps maintain focus and ensures that each part of the project is completed before moving on to the next.
Use the worksheet to decide whether the proposed scope fits the time and money you want to commit. If it does not, consider postponing, reducing the scope or obtaining a quote for help. Those are planning choices, not a guarantee that a particular budget prevents surprises.
Choose the Right Materials for Your Project
Selecting materials that balance cost, durability, and suitability for your project’s environment is key to avoiding frustration later. For indoor projects, pine is a popular choice because it’s affordable and easy to cut, sand, or stain—ideal for shelves, picture frames, or small furniture. If your project requires more strength, oak or maple offers greater durability but comes at a higher price. For outdoor use, cedar and redwood are recommended due to their natural resistance to moisture and decay, though they may require a primer or sealant to maintain longevity.
- Wood: Pine is best for budget-friendly, low-stress projects. Cedar and redwood are better for outdoor use but may need additional protection against weather.
- Metal: Steel is strong but prone to rust unless coated. Aluminum is lightweight and rust-resistant but less durable for heavy loads.
- Plastic: Affordable and low-maintenance, plastic is suitable for outdoor items like planters or temporary structures but lacks the aesthetic appeal of wood or metal.
- Extra materials: Always purchase slightly more than needed to account for mistakes or adjustments during the project. Check tool requirements beforehand, as some materials (like metal or hardwood) may need specialized equipment.
Plan Your Project Step by Step
Once you’ve chosen a project and gathered materials, the next step is organizing your workspace and tools to avoid delays. Start by clearing a dedicated area with enough space to move around safely. According to A House in the Hills, “Set Up Your Work Area” involves keeping tools within reach but out of the way, planning for dust and mess, and ensuring good airflow if painting or staining. This minimizes disruptions and keeps your workspace manageable.
- Inventory your tools: List every tool and material needed before starting. Sources like Beginner Home Projects emphasize that basic tools like a drill, measuring tape, and screwdrivers are often sufficient for beginner projects. Cross-check this list against what you already own to avoid last-minute trips to the store.
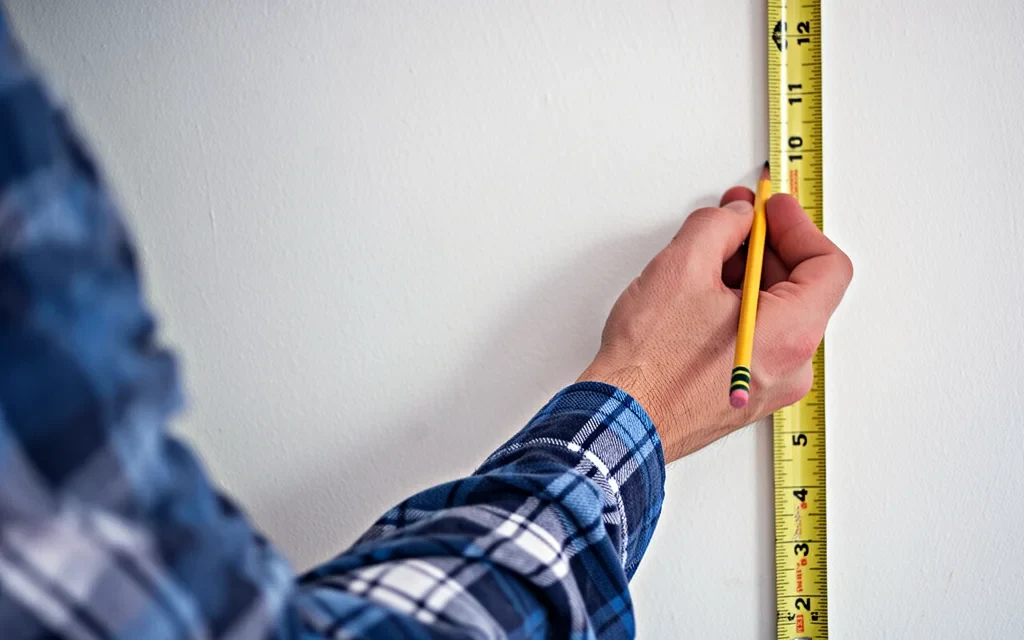
- Sketch and measure: Draw a simple sketch of your project with dimensions. As A House in the Hills advises, “Look at similar projects online for ideas” to refine your plan. This step helps identify potential issues, like how a shelf will fit in a corner or how much paint a room will need.
- Protect your space: Read the product instructions for ventilation, protective equipment, covering surrounding surfaces and keeping other people or pets away from the work. If you cannot provide the conditions required, do not treat an open window or a fan as an automatic substitute.
- Time and budget: Allow extra time for unexpected delays, and track expenses closely. Sources note that underestimating time or costs is a common pitfall. Set a strict budget and prioritize materials that offer the best value for your project’s scope.
Before starting, read through your plan once more. Which questions remain unanswered? What would make you stop and seek help? Where will you keep the instructions and product details? Give yourself permission to delay the work if those answers are missing. Finishing the plan is a useful step even when the practical work belongs on another day.
Disclosure: As an Amazon Associate I earn from qualifying purchases. Links in the related-products section are paid links.
Featured image: AI-generated variation of a photograph credited to Personal Creations · Wikimedia Commons · CC BY 2.0. Original photograph. Image modified using AI; the variation is offered under CC BY 2.0.