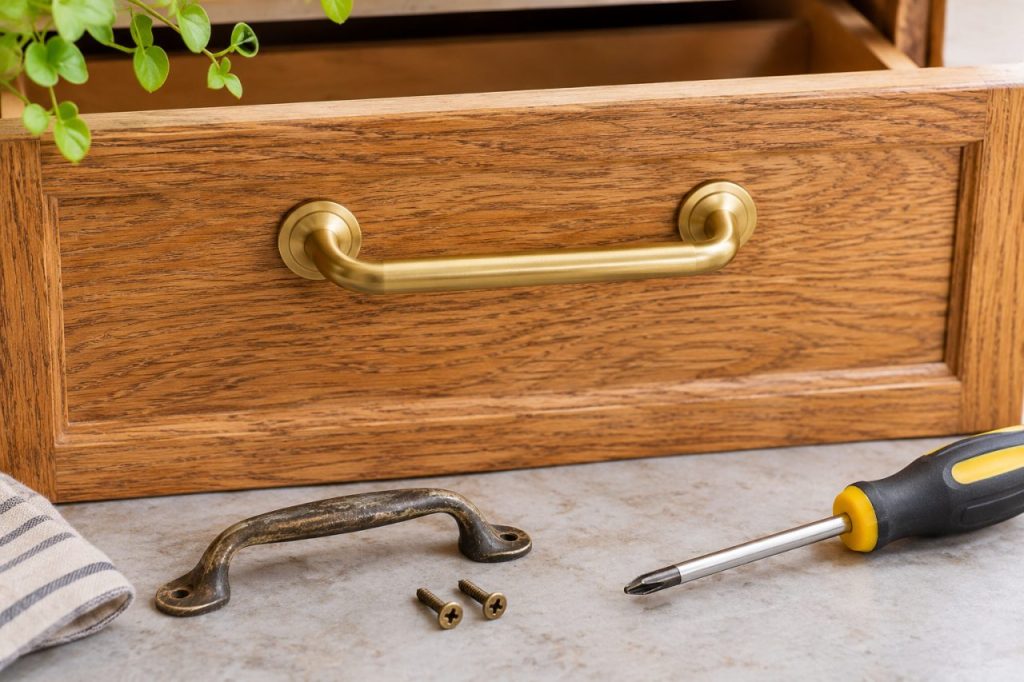
Changing handles can refresh a drawer without repainting the furniture. The simplest version reuses the existing holes and suitable fixings. Begin with one drawer and one proposed replacement, rather than ordering a complete set from a photograph. Handle dimensions, screw length and the shape of the drawer front all affect whether the replacement will fit.
Measure the right distance
For a two-hole handle, measure from the centre of one screw hole to the centre of the other. The overall handle length is not the fitting dimension. Record the thickness of the drawer front at the fixing point and photograph the existing screws. For a single-hole knob, check the base diameter as well as the screw connection so the old mark will be covered.
Inspect the drawer before removing anything
Empty the drawer and support it according to the furniture’s instructions. Check for loose joints, damaged holes or a cracked front. If the handle is attached through a decorative false front, note the layers the screw passes through. Do not use longer screws as a shortcut when you cannot determine their clearance inside the drawer. Keep original parts together in case the replacement is unsuitable.
Try one replacement
Choose hardware with matching hole spacing and appropriate supplied fixings. Hold the handle against the front and start the screws by hand so the threads engage properly. Tighten evenly with a suitable hand tool, avoiding excessive force. A screw that bottoms out before the handle is secure is not the right fit. A screw that barely engages is also unsuitable; get the correct fixing rather than adding improvised packing.
Test the movement
Open and close the drawer several times. Check that the handle clears neighbouring drawers, cabinet doors and walls. Run your hand carefully around the fitted hardware to check for sharp edges or protruding screws. The handle should feel firm without bending the drawer front. Recheck the fit after a few days of normal use and follow the hardware manufacturer’s maintenance advice.
Keep the change reversible
Replace the remaining handles only after the trial works. Bag and label the originals with the furniture’s name and the date. If the new handles require drilling, filling or cutting, treat that as a different project with its own preparation. Reusing the holes avoids those extra operations and makes it easier to change your mind, particularly with rented or sentimental furniture.
Further reading
Furniture-upcycling discussion: planning hardware and preparation